This week’s e-learning challenge #112 is to share an interaction for presenting videos in e-learning courses. I’m in the middle of a video-rich project so this challenge is timely!

Concept for the Video Player
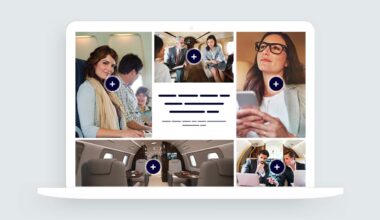
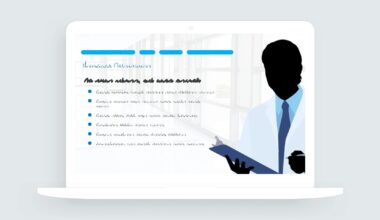
The design concept for my example was taken from a current project I’m designing to help newly hired nurses transition into the role of professional nurse.
The interaction’s focus is on people (nurses), so there’s a strong emphasis on personal stories told with video. My original design and layout works, but I knew I wanted something more playful to use for my challenge entry.
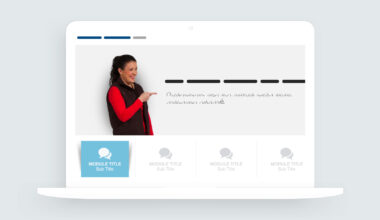
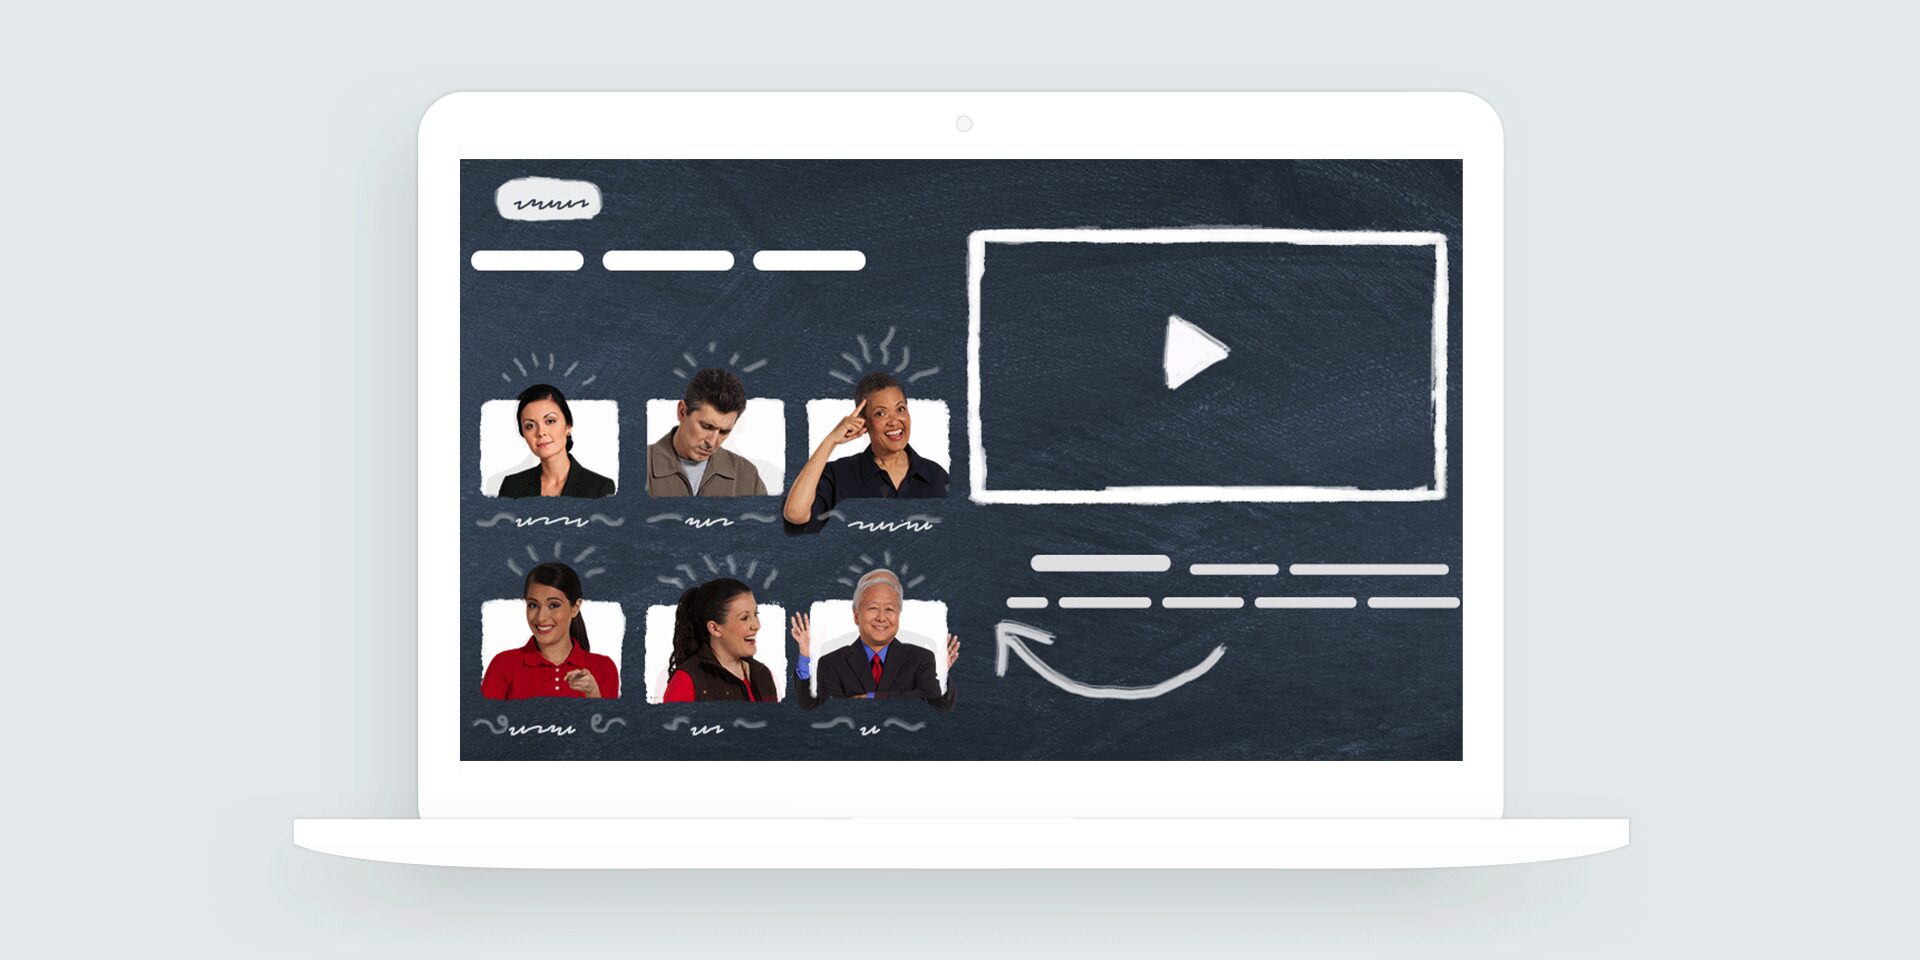
Designing a Visual Theme for the Video Gallery
The best way to change an existing design is to flip it on its head. Using a slate-textured background, handmade display font, and doodle graphic elements, I could quickly transform my professional designs into something more playful and friendly.
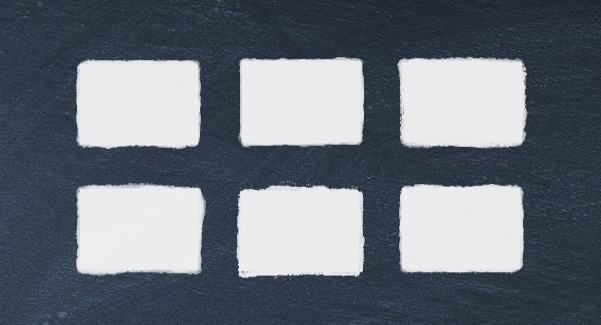
It took a little longer to roughen the edges of each box, but I felt the effect was worth the time. The unique designs of each thumbnail represents the unique stories each character has to share.
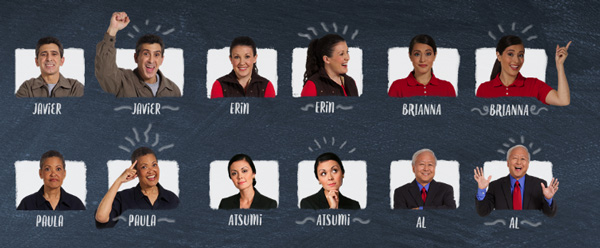
For the characters, I wanted to do something playful that would entice learners to meet the team.
My first idea was to add audio rollovers to have the characters say their names or give a quick introduction. I decided against the audio rollovers since I wasn’t doing anything similar in the rest of the project.
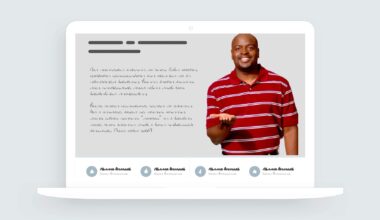
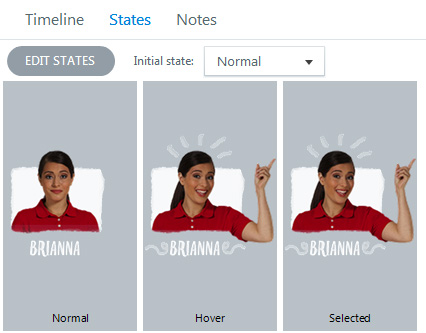
Ultimately, I went with a more visual direction by giving the characters an exaggerated pose when moused over.
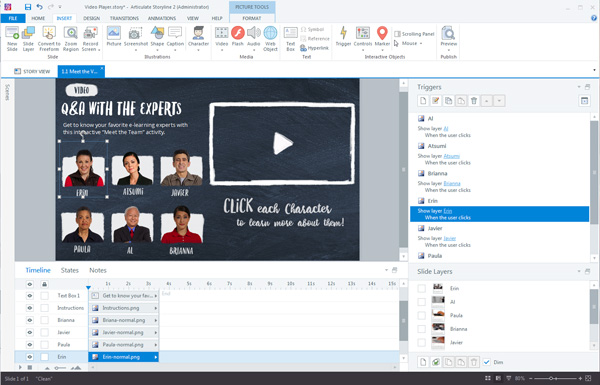
Developing the Video Player in Articulate Storyline
As usual, the video player development was much smoother and quicker than the design phase. I estimate spending about six hours on the new design and about an hour for Storyline development. This includes minor edits and republishing. Storyline’s easy that way!
Since the interaction follows a tabs-style design, setting up the triggers and slide layers was a piece of cake. Each character has one trigger that shows a new layer.
E-Learning Production Tips
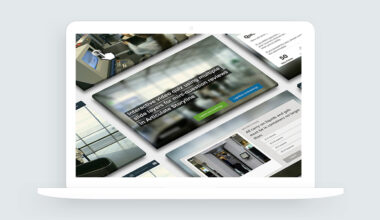
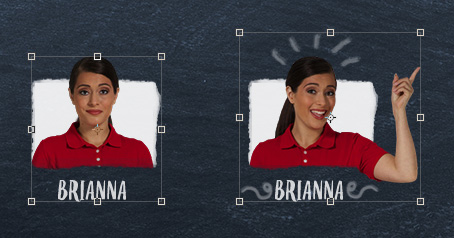
The best production tip I can share is for the character rollovers.
Whenever I build custom image rollovers in Storyline, I like to make the images the same size for each state. This makes aligning the persistent objects (thumbnail background) much easier.
Here’s a screenshot of the original images for Brianna’s normal and hover states. You can see that the hover state is significantly larger than than the normal state.
I find it’s a lot more work to align the hover image to the normal image when the images are different sizes. To get around this, I align the two objects in Photoshop and then export each based on the larger image’s dimensions.
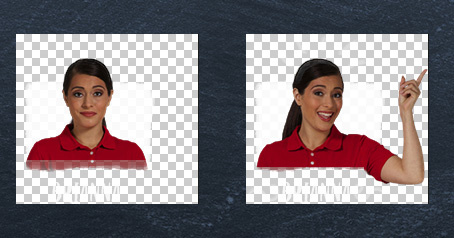
Back in Storyline, I can use Change Picture… to quickly swap out the pictures.
Meet the E-Learning Experts
Excited to hear from the e-learning experts? Go ahead and see what they have to say by viewing the example.